
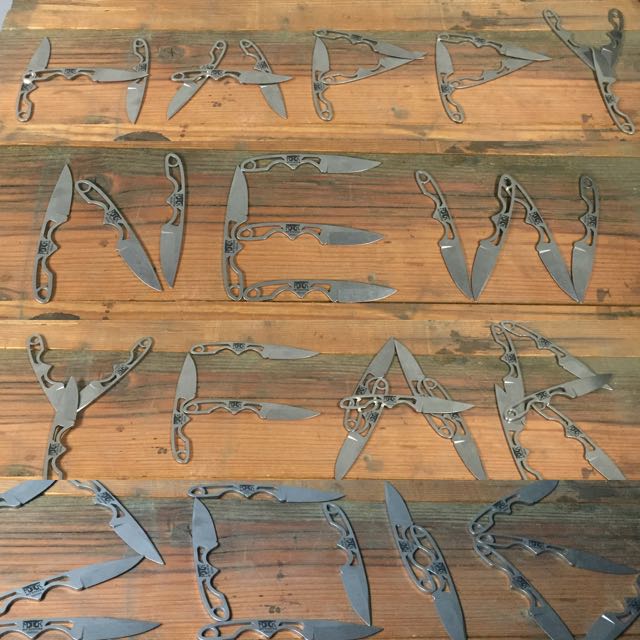
Happy New Year 2016
Happy New Year
Happy New Year, knife making has never been better! 😀 It is that time of year again when everyone is setting goals, the problem is people set goals because they feel they need to yet lack the determination to stick with them. Everyone one wants to change things but few want it bad enough! So here it goes…. My goal for 2016 is to start updating my site on a regular basis. (I am going to shoot for a new post every Friday). And I am asking for your help… please. How?
- Accountability: if I miss a post flood my email with questions like why are you being a quitter? 😀
- Leave comments on the site (this is encouraging and helps motivate me to continue).
- Share post on Social Media and with your friends (I will be watching my visitors on the site and hope to see it increase)!
Why the new goal?
Social media makes it so easy to update people on what is going on that I rely too heavily on it. That is a problem when they filter who sees your post and then want to charge you money to get exposure. Today I was blocked out of my Instagram account for 24 hours for trying to make a joke like this “I follow your page because you follow mine :D” and that must break some rule of Instagram. I don’t want to be at the mercy of other platforms to communicate with you. More and more you see people getting locked out of their accounts on all the major sites, it is sad to work hard to build a community and then have it taken away in a second because the powers to be decide you have been a bad boy! It is a LOT of work to keep up with a site but well worth the time, I truly enjoy the relationships I have built with many of you over the years and I am looking forward to many more to come. So enough about that, I appreciate your help and support! Now here is what I have been up to so far this year.
Knife Making: Long Days and Nights
Seems like I am always running behind. Days are full of distractions, phone calls, emails, visitors, running errands, eating, and so on. There are only so many things you can do to avoid some of them. So I tend to take care of most of that stuff during the day, then once the distractions are mostly over I work well into the night and morning getting things done without any distractions 😀 Many of my days are like today,
5am: finished work from yesterday and crawled into bed
7am: woke up stoked the fire and went back to sleep 😀
10am-11am: woke up, checked email, my wife made me coffee (I have the best wife ever, she makes good coffee)
11am-130pm: epoxyed knife handles on knives (takes anywhere from 10-25mins a knife and I am working on 20 knives)
130-230: finished getting packages ready for the mail (forgot a DVD I should of mailed :/ )
230pm-330pm: ran to the Post Office to mail packages picked up a Coke (probably shouldn’t be drinking that stuff)
330pm-4pm: ate some lunch while catching up on Facebook/Instagram/Twitter…
4pm-2am: finished up epoxing 14 knives took the 6 I epoxied last night and worked them up.
2am-4am: uploaded pictures and videos to computer, edited some video and updated site.
430am: bed 😀 * okay well that was wishful thinking 530 maybe?
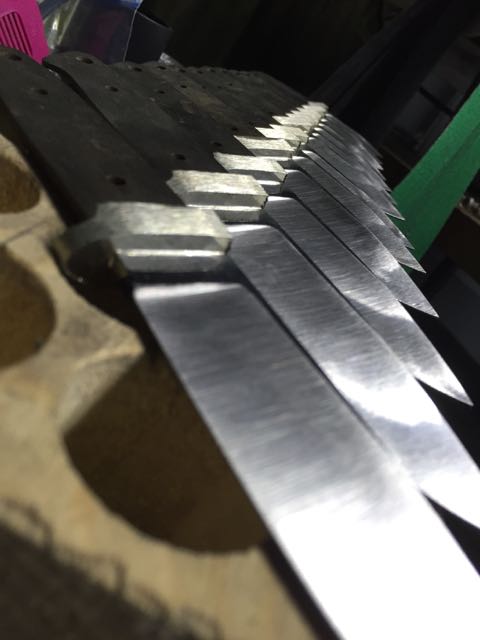
Sandblasted the tangs of the knives, this is the first time I have done this. I bought a sandblast cabinet, I think this will help make a better bond to the handle. Picked up this tip from watching Bob Loveless’s DVD (isn’t really approbate for children). I picked up a few new tricks watching his video.

There are so many different grains in Dark Myrtle that you would almost thing some come from a different tree. My supplier picked out the best scales and sent them to me, then I pick through them trying to find only the best. It is hard when trying to do 100 knives to have them all the same, there is always the ones that stand out in the crowd. However everyone has different taste. I sand both sides flat and get them matched up, lay them out like this, and then decide how they will look best on the knife. These are what you call “book matched sets” there are two ways to put the handles or scales (technical term for the handle at this stage) on. Book matched scales facing each other with the knife in the middle: this makes the grain of the wood “flow” through the knife. This is the first way I learned how to do it, the second way is more common and that is facing the book matched scales outward: this helps keep both sides of the knife looking the same or at least close since as you can see they are the same, as long as you have your scales about the right size and don’t remove any more of the handle than you have too.
Handles shaped and ready to prepare the liner.
 I enjoy taking photos at different angles of my work and every once and a while a black and white looks nice I think!
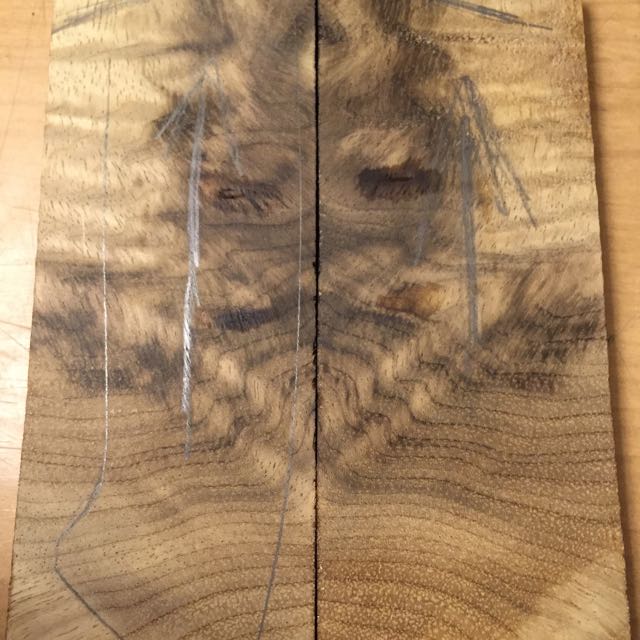
You can see here I have drew arrows on the scales so I don’t mess them up when drilling and such (may have learned the hard way a time or two). I think this set of scales looks like it has an angry looking warrior with flaming hair, what do you think? There are 4 different ways these scales can go on the knife so I look at every one of them and decide which looks best. Many times I hate trying to decide, because I can never capture the entire thing. I hate waisting beautiful handle material so many times I save the scrap. I have made pendents with them, and seen others make earrings and such. You especially don’t waist things like Ivory!
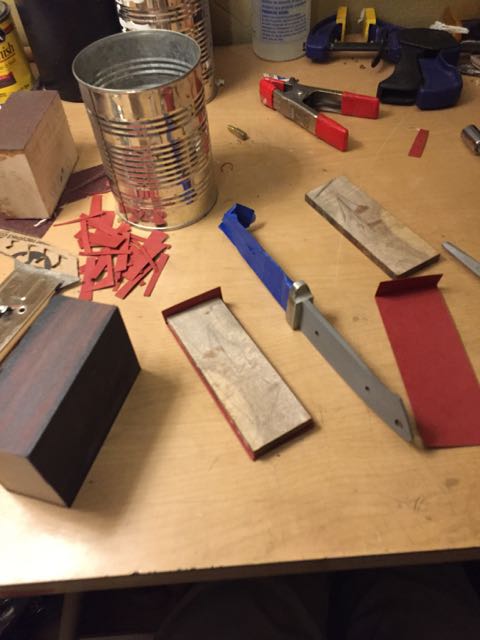
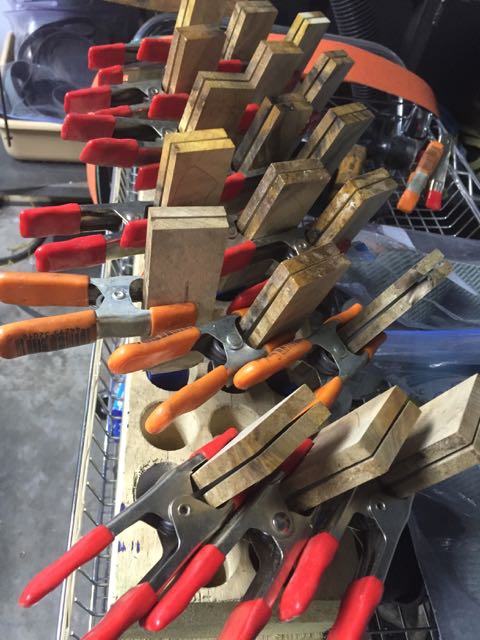
Finally ready to put the handle on, I will double check all the fittings, making sure there are no gaps. Something as little as .001 inch will be seen by collectors and knife makers. I strive to make every knife perfect. Before I mix my epoxy I lay everything out and make sure I have all my tools ready. Hard to believe there are 10 separate pieces coming together on the handle here (really 9 as the lanyard hole pin will be added later). It is important to have a system down and not be distracted at this stage, having everything go as smooth as possible is the goal. Sometimes you run into some surprises, like holes not wanting to line up properly, dropping something with epoxy on it, getting epoxy everywhere, or worst of all the epoxy setting up too quick and you struggling to get everything together!
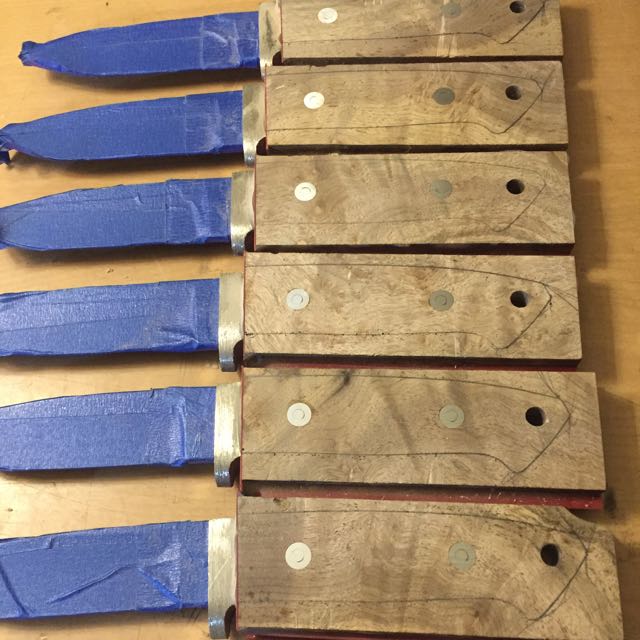
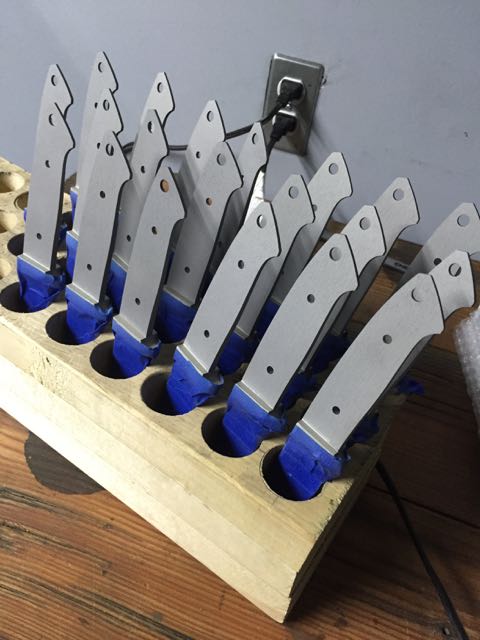
Getting ready to cut to shape.
These are the 6 I glued up last night so they were ready to cut the pins off and sand flat (I like my epoxy to cure 12-24hours before taking the clamps off) I lay a blank on top and use the lanyard hold pin and tip of the knife to line it up, then I trace out the outline of the handle so I can cut it out on the bandsaw. I have found this to be the fastest way. I use to cut the scales to shape before I even epoxied the handle on. There are several ways to do it but this is what I have found best for this situation. I cut these out and started to shape them before I called it quits.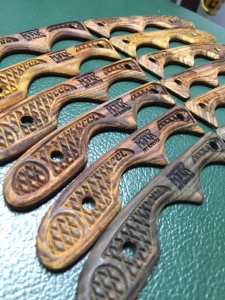 These are the first batch of pre-ordered scales for the Genesis, I finished them up today and mailed them (Kern somehow I was one short so I didn’t get yours done yet, sorry) They have proven to be too much trouble. Unfortunately I think going forward we will only be offering them on a knife, not as a stand alone product. Be sure and pick your Genesis up today! https://mtknives.net/product/genesis/
Thank You for taking time to read my post, I would love to hear your thoughts.
Patrick
Ha! Nice goals, Patrick! I\’m kind of making the same ones for myself. I\’ve been leaving my blog behind a lot over the past three months, so I\’ve decided to start posting on a regular basis (I\’m shooting for every Sunday or Monday). We\’ll see how it works. Scheduling posts tends to bug me, but we\’ll see if it makes me more productive. 🙂
Lydia, I am the same way. My biggest problem is perfection, however you may not be able to tell by my grammar 😀 And what I mean by that is when I make a post I feel like it has to be a novel (well at least a decent post like today). Which takes me sometimes hours. Something is better than nothing and setting a goal and just putting it out there will help I believe. Hopefully I will get quicker over time. Social media has helped me be lazy, well no more! At least not for a couple weeks like most resolutions 😀
Great post!
I enjoy seeing all the steps you go through to produce these beautiful knives! Looking forward to following these posts more regularly (since you will be posting them more regularly).
Thank You, hopefully I can keep it up and keep it interesting!
Greetings Patrick.
I think you are going to hit some milestones this year. That Dark Myrtle looks fantastic.
Personally I hate social media. It will never make sense to me why so many people feel the need to share and shine light into every corner of their life. Business wise I get it, its marketing. I remember when MySpace was the big king daddy of SM, man has it come a long way. While the companies have to protect their product I think they go overboard at times with censorship. Granted they need to make money but to charge to let people see you is bogus. They can find another way.
Genesis scales… ever thought about a CNC Dremel table? There are many DIY plans and I’ve seen many a video of them in use. Pretty slick.
Automation is your friend. What could you automate in your life to free up time? I recall a TPS episode with Justin Rhodes (I think that’s his name) the chicken dude. He talked about how much he has learned about automating many tings in his business. Perhaps its worth another listen?
I just read a newsletter from The Purple Pitchfork. He was talking about worth while investments.
http://www.purplepitchfork.com/blog/three-investments-to-save-labor
Invest to make the job faster.
Invest in a task to make a different task easier.
Invest in capacity.
While it is very farming centric I think that can be applied to a great many things. Opinions vary. Money is always tight but how much is it worth to save 5 to 60 minutes a knife over the course of a year?
A $10 junk knife has its place in the tool box in the trunk but a real knife…. Its like a kid eating dessert for breakfast, YUMMY!
Keep up the good work and doing what you love.
David, Thank You! I sure hope so, I thought last year a lot of big things were going to happen and they did to some level but not the level I was hoping for. However everything takes time, I think some of that work from last year will really pay off this year. Great advise, it is pretty much what I am doing but it is good to be reminded.
The problem with the scales is not having the margin to make it worth the time invested, even at $80. I am not the government here and get subsidized when there is little to no profit 😀 And I think the scales if installed wrong could cause them to break at which point I would have to replace them (I could refuse to replace them due to customer damage but I know how I would feel after dropping $80 just to have it thrown in the trash, it is good business practice to go above and beyond what is required) It isn’t just making the scales, it is then bolting them up in my shop and pressing another kydex sheath ( I could use one knife in the shop to press them all but there is a slight chance that it then wouldn’t be the right fit which wouldn’t be noticed unless tested and if noticed by the customer then I have a whole new problem) So the best solution is just for me to install the scales on the knife, the knife margin helps make up for the lack of margin in the scales, plus I would only be making a sheath that I would have already had to make and shipping that I already had to cover. I know this may be disappointing to some who had hope to upgrade their Genesis but hey two is one and one is none 😀 Now they have a good excuse to get another one. 🙂
Awesome works as always sir!
Thank You
Patrick – thanks for the look behind the curtain. It is awesome what you do and your attention to detail. I\’ve see you grow as a knife maker in the past 3 years and celebrate your accomplishments. Keep doing what you do man.
Matt, Thank You!
Awesome update, keep it up. I don\’t often comment but I always read/watch your updates. Love pictures of matched wood blanks.
Sounds like you’re busy! Dawna and I love the Ranger knives! No problem on the scales – I prefer quality over schedule! Love your work!
Very nice post!
All the best to you and your family in 2016. I like your knives, posts, and videos.