
Four-Part Mini-Series Introduction
This is the fourth post in a four-part series in the month of January on sharpening your knife. My four-part post is designed to be kind of like a mini-course on knife sharpening. There is a very special announcement that I will make at the end of this post! You will not be disappointed.
This four-part mini-course is designed to take you through the process of establishing a burr. This course will get your blade razor sharp in no time. Of course, if you have been around MTKnives for any amount of time you will know that I am not satisfied with razor sharp. That is why you need to keep reading all the way to the end of this post!
If you are afraid you will forget to check back then make sure you sign up for my email list because I am going to be making the announcement via email also.
Lastly, here is a quick road map before we get started:
- Know These 4 Important Terms Before Sharpening Your Knife.
- What is the Right Angle to Sharpen Your Knife?
- Top 5 Worst Mistakes Made When Sharpening Your Knife.
- How to Establish a Burr on the Edge of Your Knife.
How to Establish a Burr on the Edge of your Knife
Establishing a Burr
This is the most important part of sharpening a knife. Establishing a burr is the key indicator to inform you that you are ready to move on to a finer grit stone or sandpaper.
Your hands
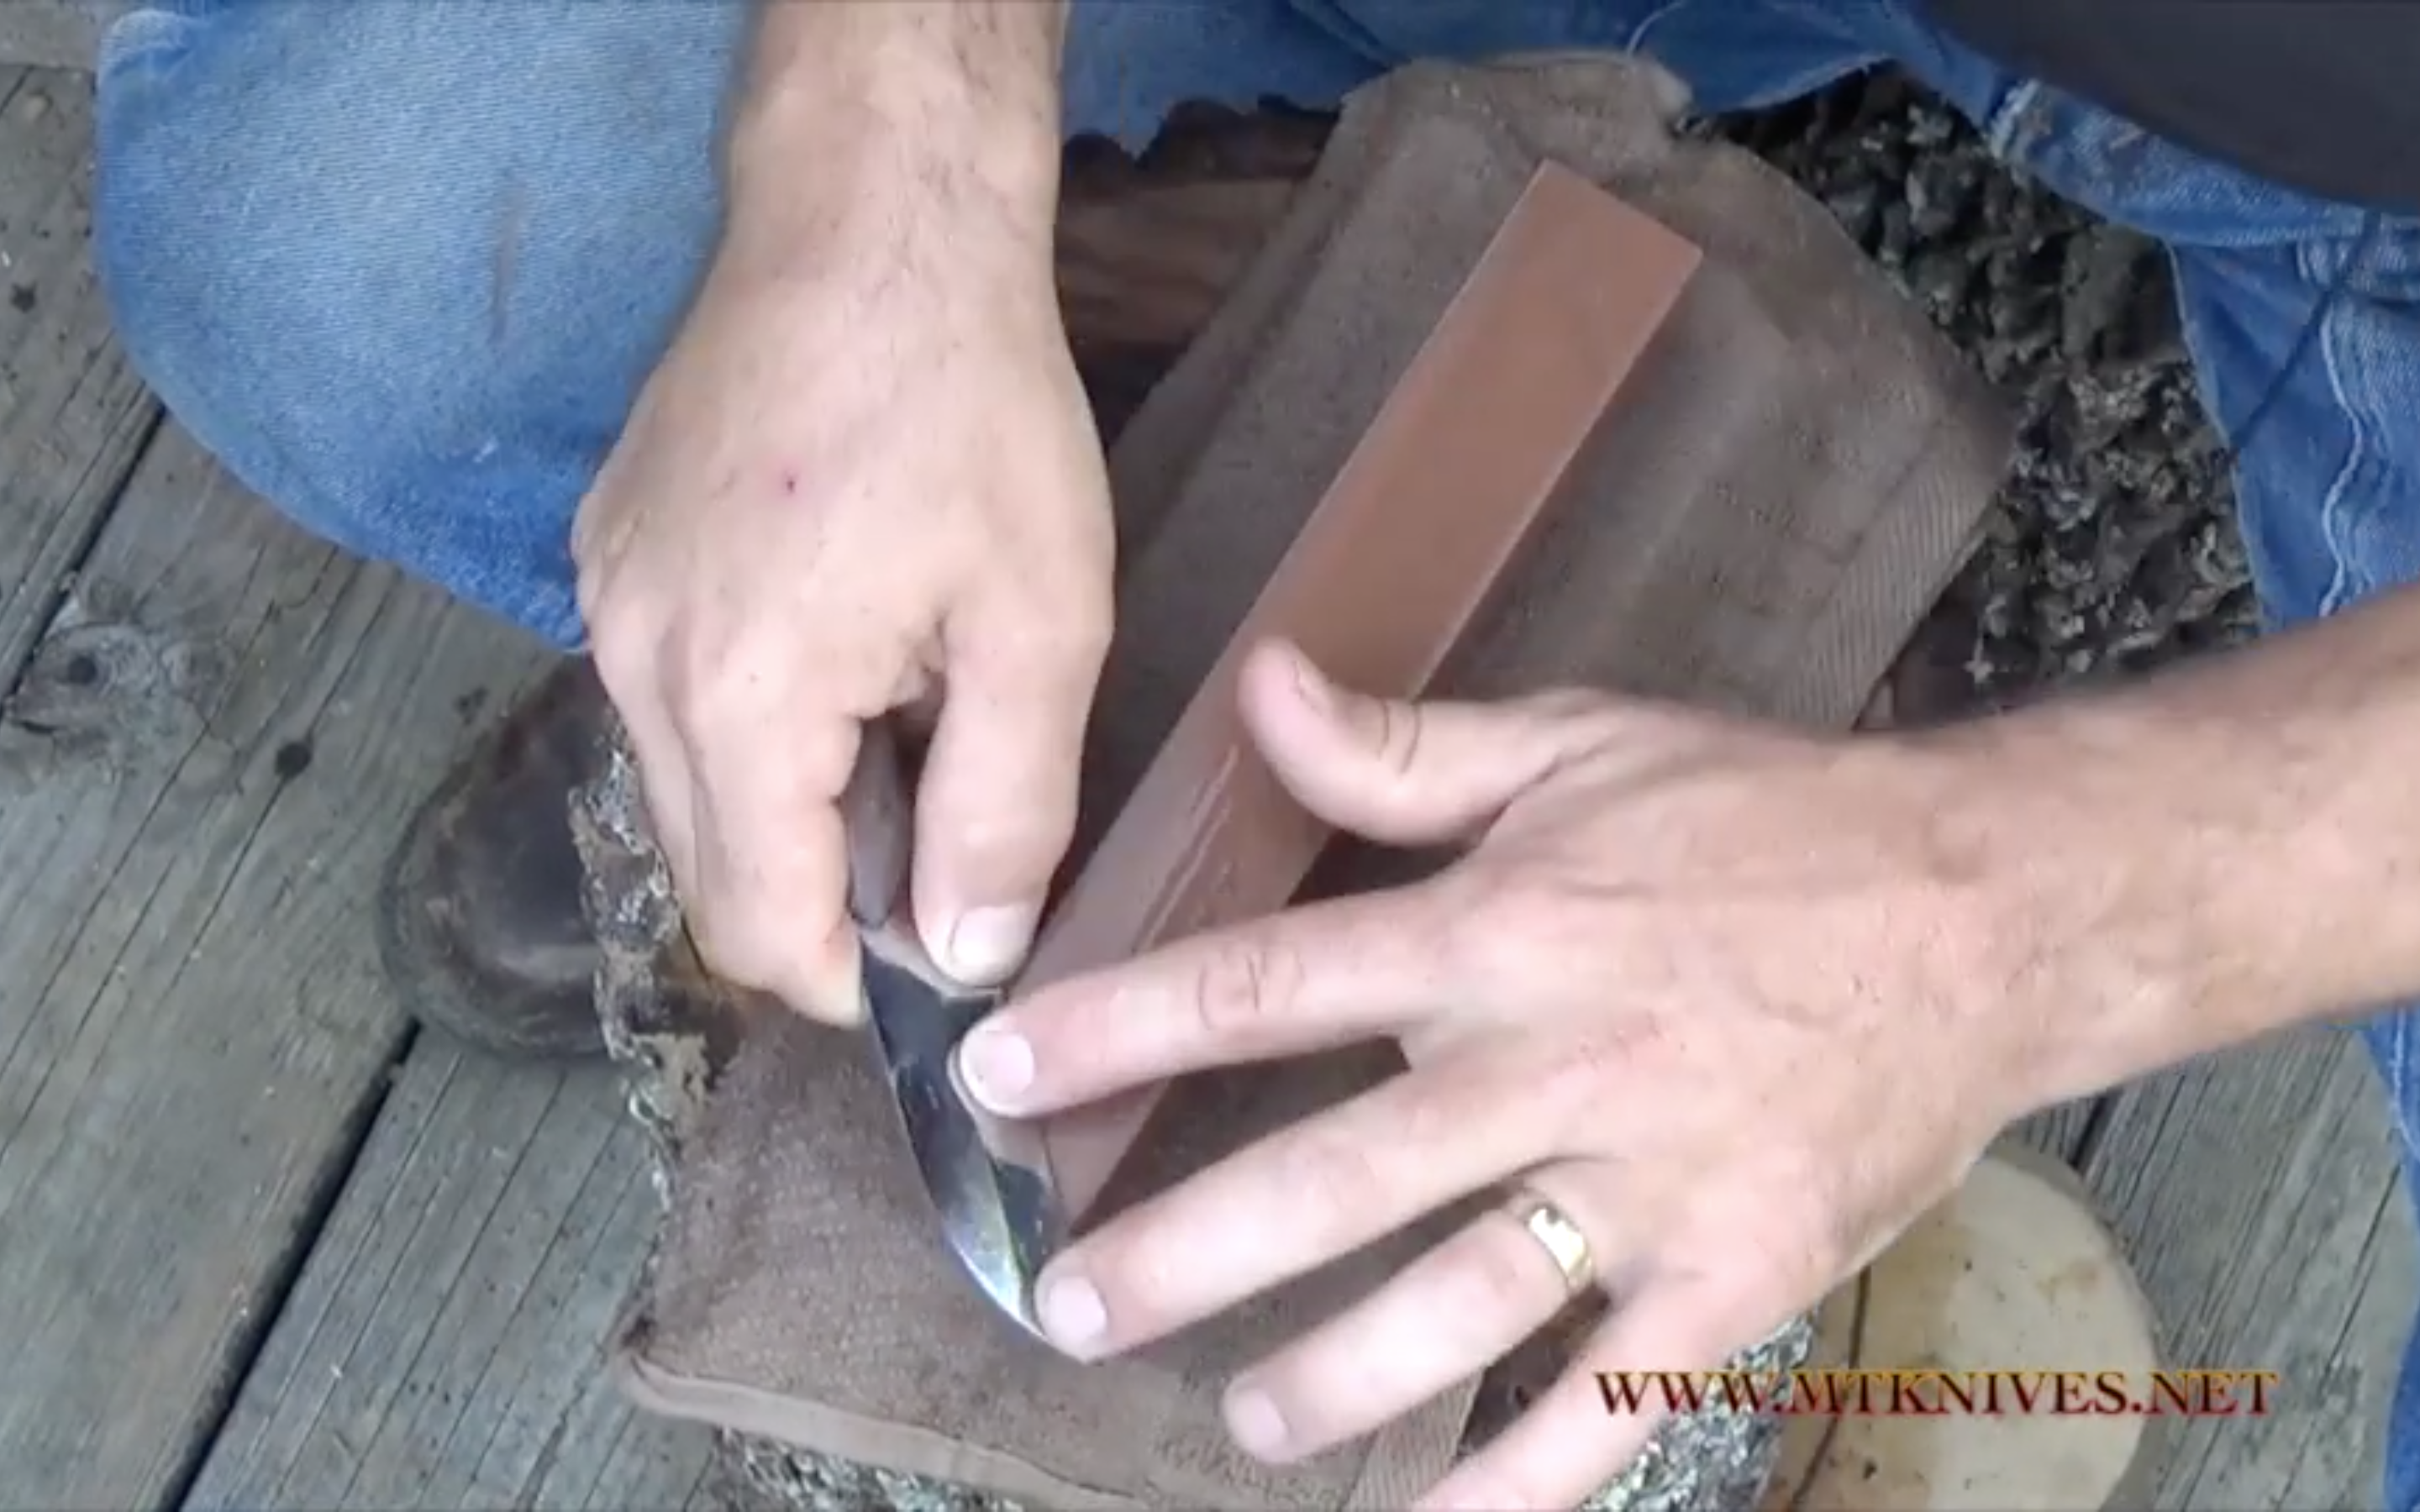
You should hold your knife firmly with the handle in your dominant hand. With your dominant thumb on the face of the knife near the heel of the blade.
Your off hand should be used to place slight pressure on the tip of the knife blade. I find this also helps to feel the angle of the blade. You can do that by using your index finger on the tip of the blade and pressing down gently. Be careful not to change your angle when you press down.
Your dominant wrist will control the angle. Don’t try to control the angle with your finger. To hold a consistent angle, adjust the angle of the blade with your wrist and lock your wrist to hold the correct angle. Using your off hand to control the angle will lead to variations in the angle of the blade.
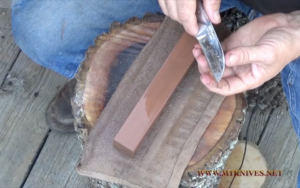
The Stroke
Work the blade from tip to heel across the entire length of the stone or sandpaper you are using. It is important when sharpening to maintain a steady and constant angle on the blade. To obtain this consistency, you need to move your stroke using your upper body, arms, and shoulders. This will allow you to keep your hands and wrists locked maintaining the pressure and angle on the blade.
Establishing the burr
To establish the burr you need to remove steel from the primary edge of the knife until the burr is clearly present. You can stroke the knife forward or backward. I like to move the blade forward and backward on the same side to speed the process up. Later when it is time to put the razor sharp edge on the knife we will only go one direction.
As a beginner, you should start off slowly so that you can focus on maintaining a constant angle and pressure. As you progress and feel comfortable and confident keeping the pressure and angle constant you can increase the speed of your stroke. Be aware that as you do this you will be tempted to move your wrists slightly to increase the speed. Resist this temptation and make sure the motion of the stroke comes from your upper body, arms, and shoulders.
As you make passes on your stone with the blade be sure not to let your blade go off the edge. Also, don’t sharpen your knife on the corner of the stone. Use the flat part of the stone to sharpen the primary edge.
You will need to remove steel from both sides of the knife so you should keep the number of strokes even on both sides of the knife. How many passes you do on one side you need to do on the other.
Give about 10 passes and check where and how you are doing. Uneven wear patterns or undesirable blade shapes could indicate several possible problems. Check your stone for irregularities. Verify your pressure and angle are constant and correct. Then make needed adjustments to account for any issues.
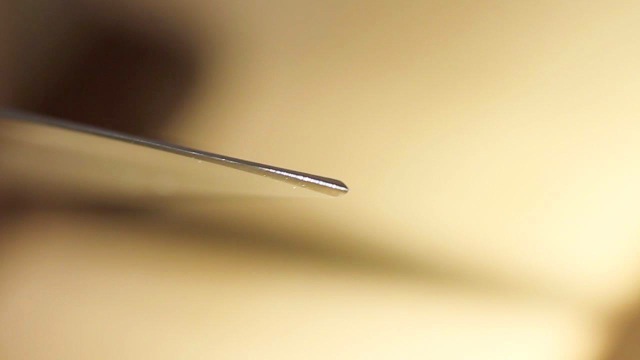
Definition of a burr
A burr is simply a very fine lip of metal hanging over the primary edge on the opposite side of the blade than the one touching the blade. You can feel this burr when it is formed. Rub your fingernail from the back of the knife toward the edge and you will feel the burr catching as you run your fingernail off the edge of the knife.
It is easy to be deceived into thinking that you have obtained a burr. The burr should run the length of the blade. The two most common places to miss establishing a burr is the tip of the knife and the heel of the knife. Place pressure on the missed spots of the blade that need additional attention using your off hand. Keep the blade flat but press firmly down on the position that requires the establishment of a burr.
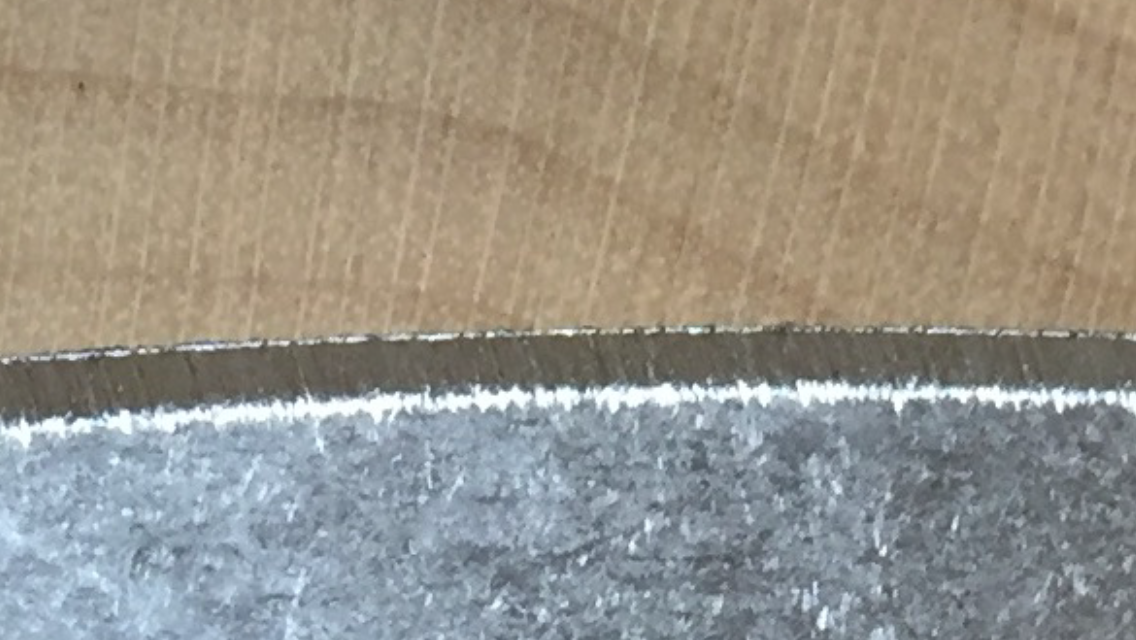
How to check to see if you have established a burr using light
Using sunlight or a high power LED flashlight you should look down the edge of the blade as you rock it from front to back and side to side. You are looking for reflections of light. If you have not established the burr you will see light reflecting off the edge of the knife. This is because the edge of the knife has a flat spot on the edge of the knife. When you have established the burr, there is no flat spot on the edge of the knife. With no flat spots light won’t reflect off the edge.
Last steps
Once the burr has been established along the entire length of the blade you will need to knock the burr off. You can do this by drawing the knife a two or three of times through a soft piece of wood. You should not press the knife into the wood hard to get results. You should only need to use a very light pressure. Don’t push too hard or you could damage the primary edge you worked so hard to get to.
Final step
After you knock the burr off with a light pass through some soft wood you will go back to the stone. Make two to three light passes on both sides of the knife. Now your are ready to progress to the 6000 grit (fine grit) stone!
Handy Sequence
- Alternate 10 passes on either side of the knife.
- Establish the burr.
- 2-3 blade pulls through soft wood.
- 2-3 passes of the knife blade on the sharpening stone.
Tips to remember
- Lock the angle of the blade using your wrists.
- Use your fingers to apply even and constant pressure to the blade.
- Use your upper body, arms, and shoulders to make the movement for the strokes.
- I recommend using a back and forth pass to save time sharpening.
- Use light to see if you have established a burr.
Bottom Line
Establishing a burr on the edge of your knife is critical to sharpening your knife beyond razor sharp. This is the last post in my four-part miniseries and now I want to make that big announcement I have been talking about!
The Big Announcement! – I finally wrote an eBook on Knife Sharpening! It officially launches next Monday!
Yes! There will be a couple of very special deals for you!
The past four posts were actually some excerpts from my book. I hope you enjoyed them! They were like a sneak peek that you didn’t know you were getting. This book has been a labor of love. Writing isn’t really my favorite activity. I would rather spend time in my shop making knives for my stakeholders, private reserve members, and loyal fans. Or sharpening knives to beyond razor sharp. Or teaching others how to make and sharpen knives. But I have been asked numerous times if I had a book to purchase. There have been many requests for a book over the past couple of years. Your requests have finally been heard! I will be launching my book next Monday! With a couple of special deals set up for next week just for you!
Please help me make this upcoming book launch something special!
Thanks for the snippets from your book, and congrats. on completing the book.
The tips presented provide a good base to start from, prior to the book launch.
That is all.